
| Pre-requisites: n/a |
Topics Covered
Creating New Fiscal Data
Crosswalks
Bulk Import
Health Check
Target Users
AR Instance Admin
Required Permissions
n/a

Fiscal Strip Favorites
Fiscal strips can be saved as favorites, or frequently used fiscal strips. To do this, navigate to Administration > Fiscal Strip Favorites.
To create a single Fiscal Strip Favorite entry, click the + Create button.
On the Create New page, enter the Fiscal Data by completing each field.
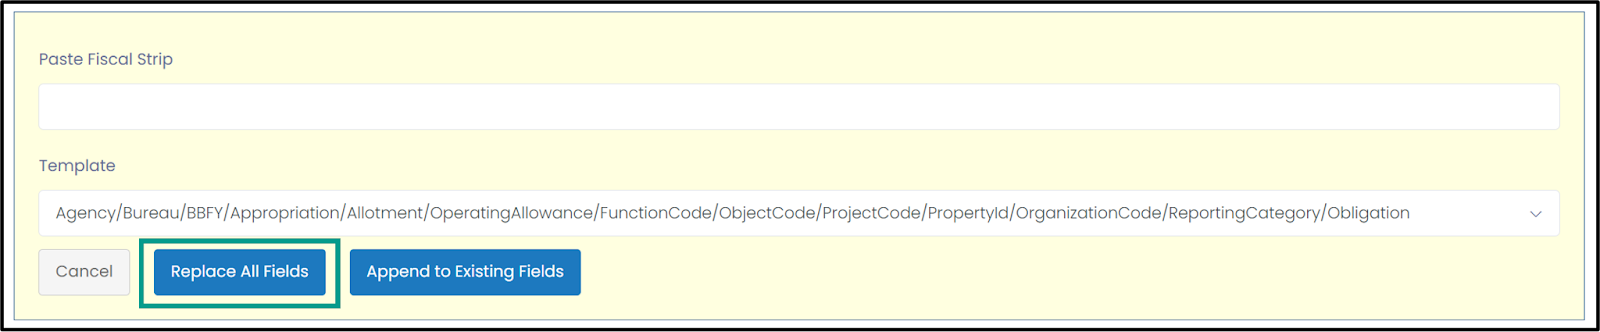
If you have a fiscal strip on hand, and you’ve created a Fiscal Strip Pattern, you can quickly enter the data by clicking the Paste Fiscal Strip button, selecting the template from the dropdown, and then pasting the fiscal strip in the Paste Fiscal Strip field.
By clicking the Replace All Fields button, all fields in the Create New form will be replaced with the information entered below. If an edit is made to a fiscal strip, click Append Existing Fields, and only the edited fields will change.
Crosswalks
Fiscal Data can also be applied in the form of a Crosswalk. To do this, click Download CrossWalk Template in the Attachments section.

Complete the template and save the file with a distinctive name. NOTE: The Transaction Amount (listed on the file) is the same as the Allocated Amount in the application.
Next, in the application, click Choose File, and select the file from your file folder. Click OK in the pop-up window if you agree to use the Fiscal Strips from the CrossWalk Template.
The information from the template will auto populate in the respective fields and will also be listed as an attachment in the Attachments section.
Once completed, click Save Changes.
NOTE: To learn more about the Reconciliation Rules tab, please read the Reconciliation Manual.
Bulk Import
To Bulk Import Fiscal Data, click the Bulk Import button at the top of the page.
Next, download the template. Complete the template and save the file with a distinctive name. Next, in the application, click Choose File, and select the file from your file folder.
Review and confirm the import information. The Fiscal Data will now appear on the Fiscal Data main page.
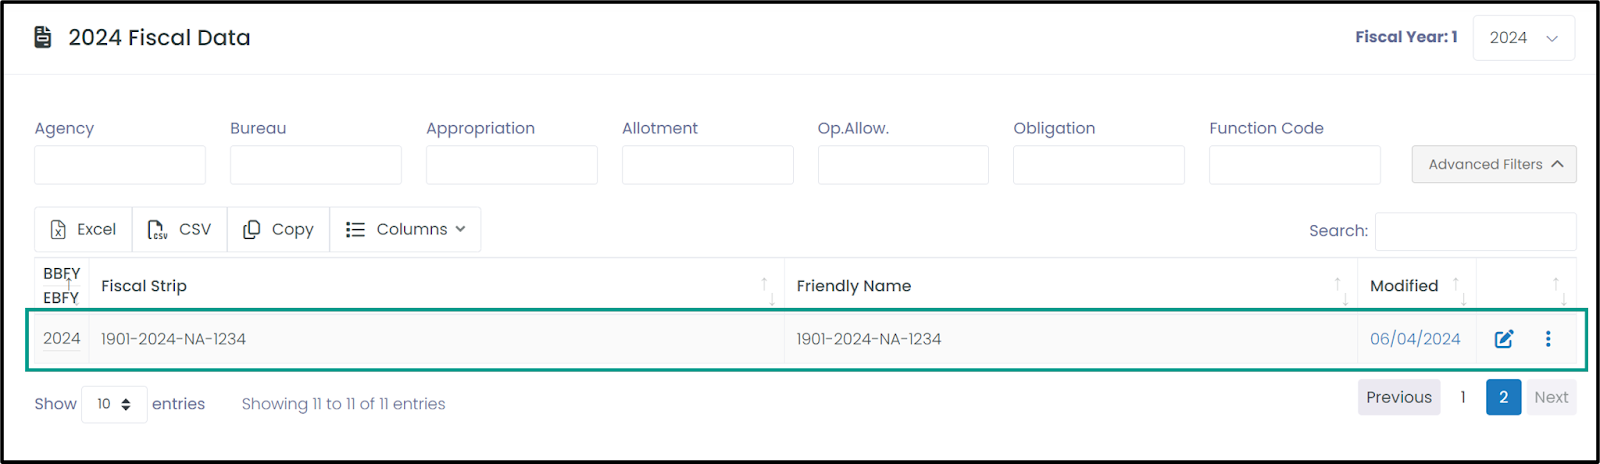
To edit or delete a Fiscal Strip, click the Edit icon or the Ellipses.
For additional help, please contact ISC at Post or ADG Support by selecting the ‘Submit a request’ button at the top of the page or by emailing adg-support@state.gov.
Visit the Global Application Portal (GAP) for the latest news and information on all the ADG's applications.
Comments
0 comments
Please sign in to leave a comment.